Edge Cloud Dashboard: The Gateway to Your Personalized Day
Published by Michelle Haupt on
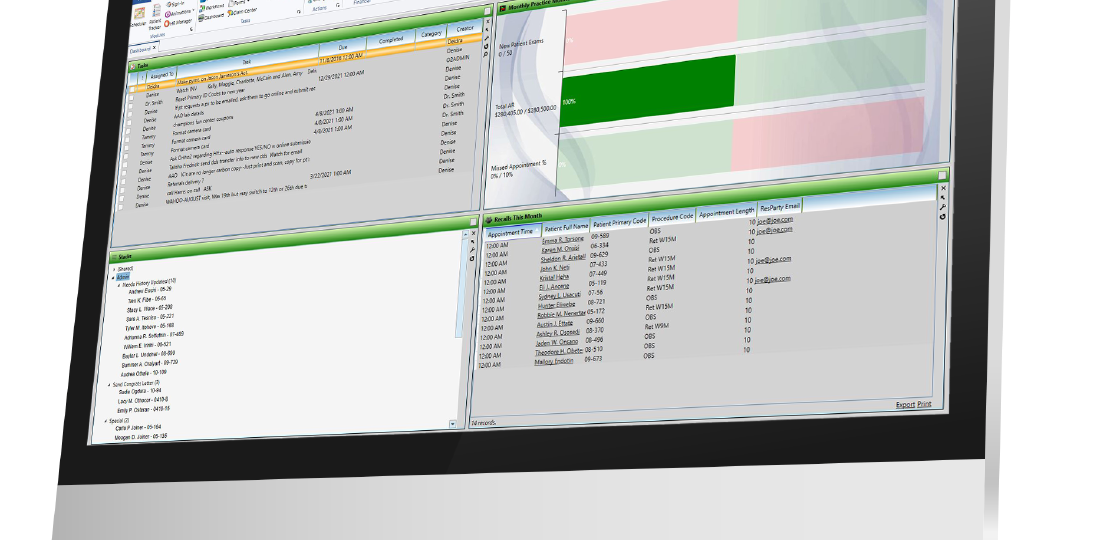
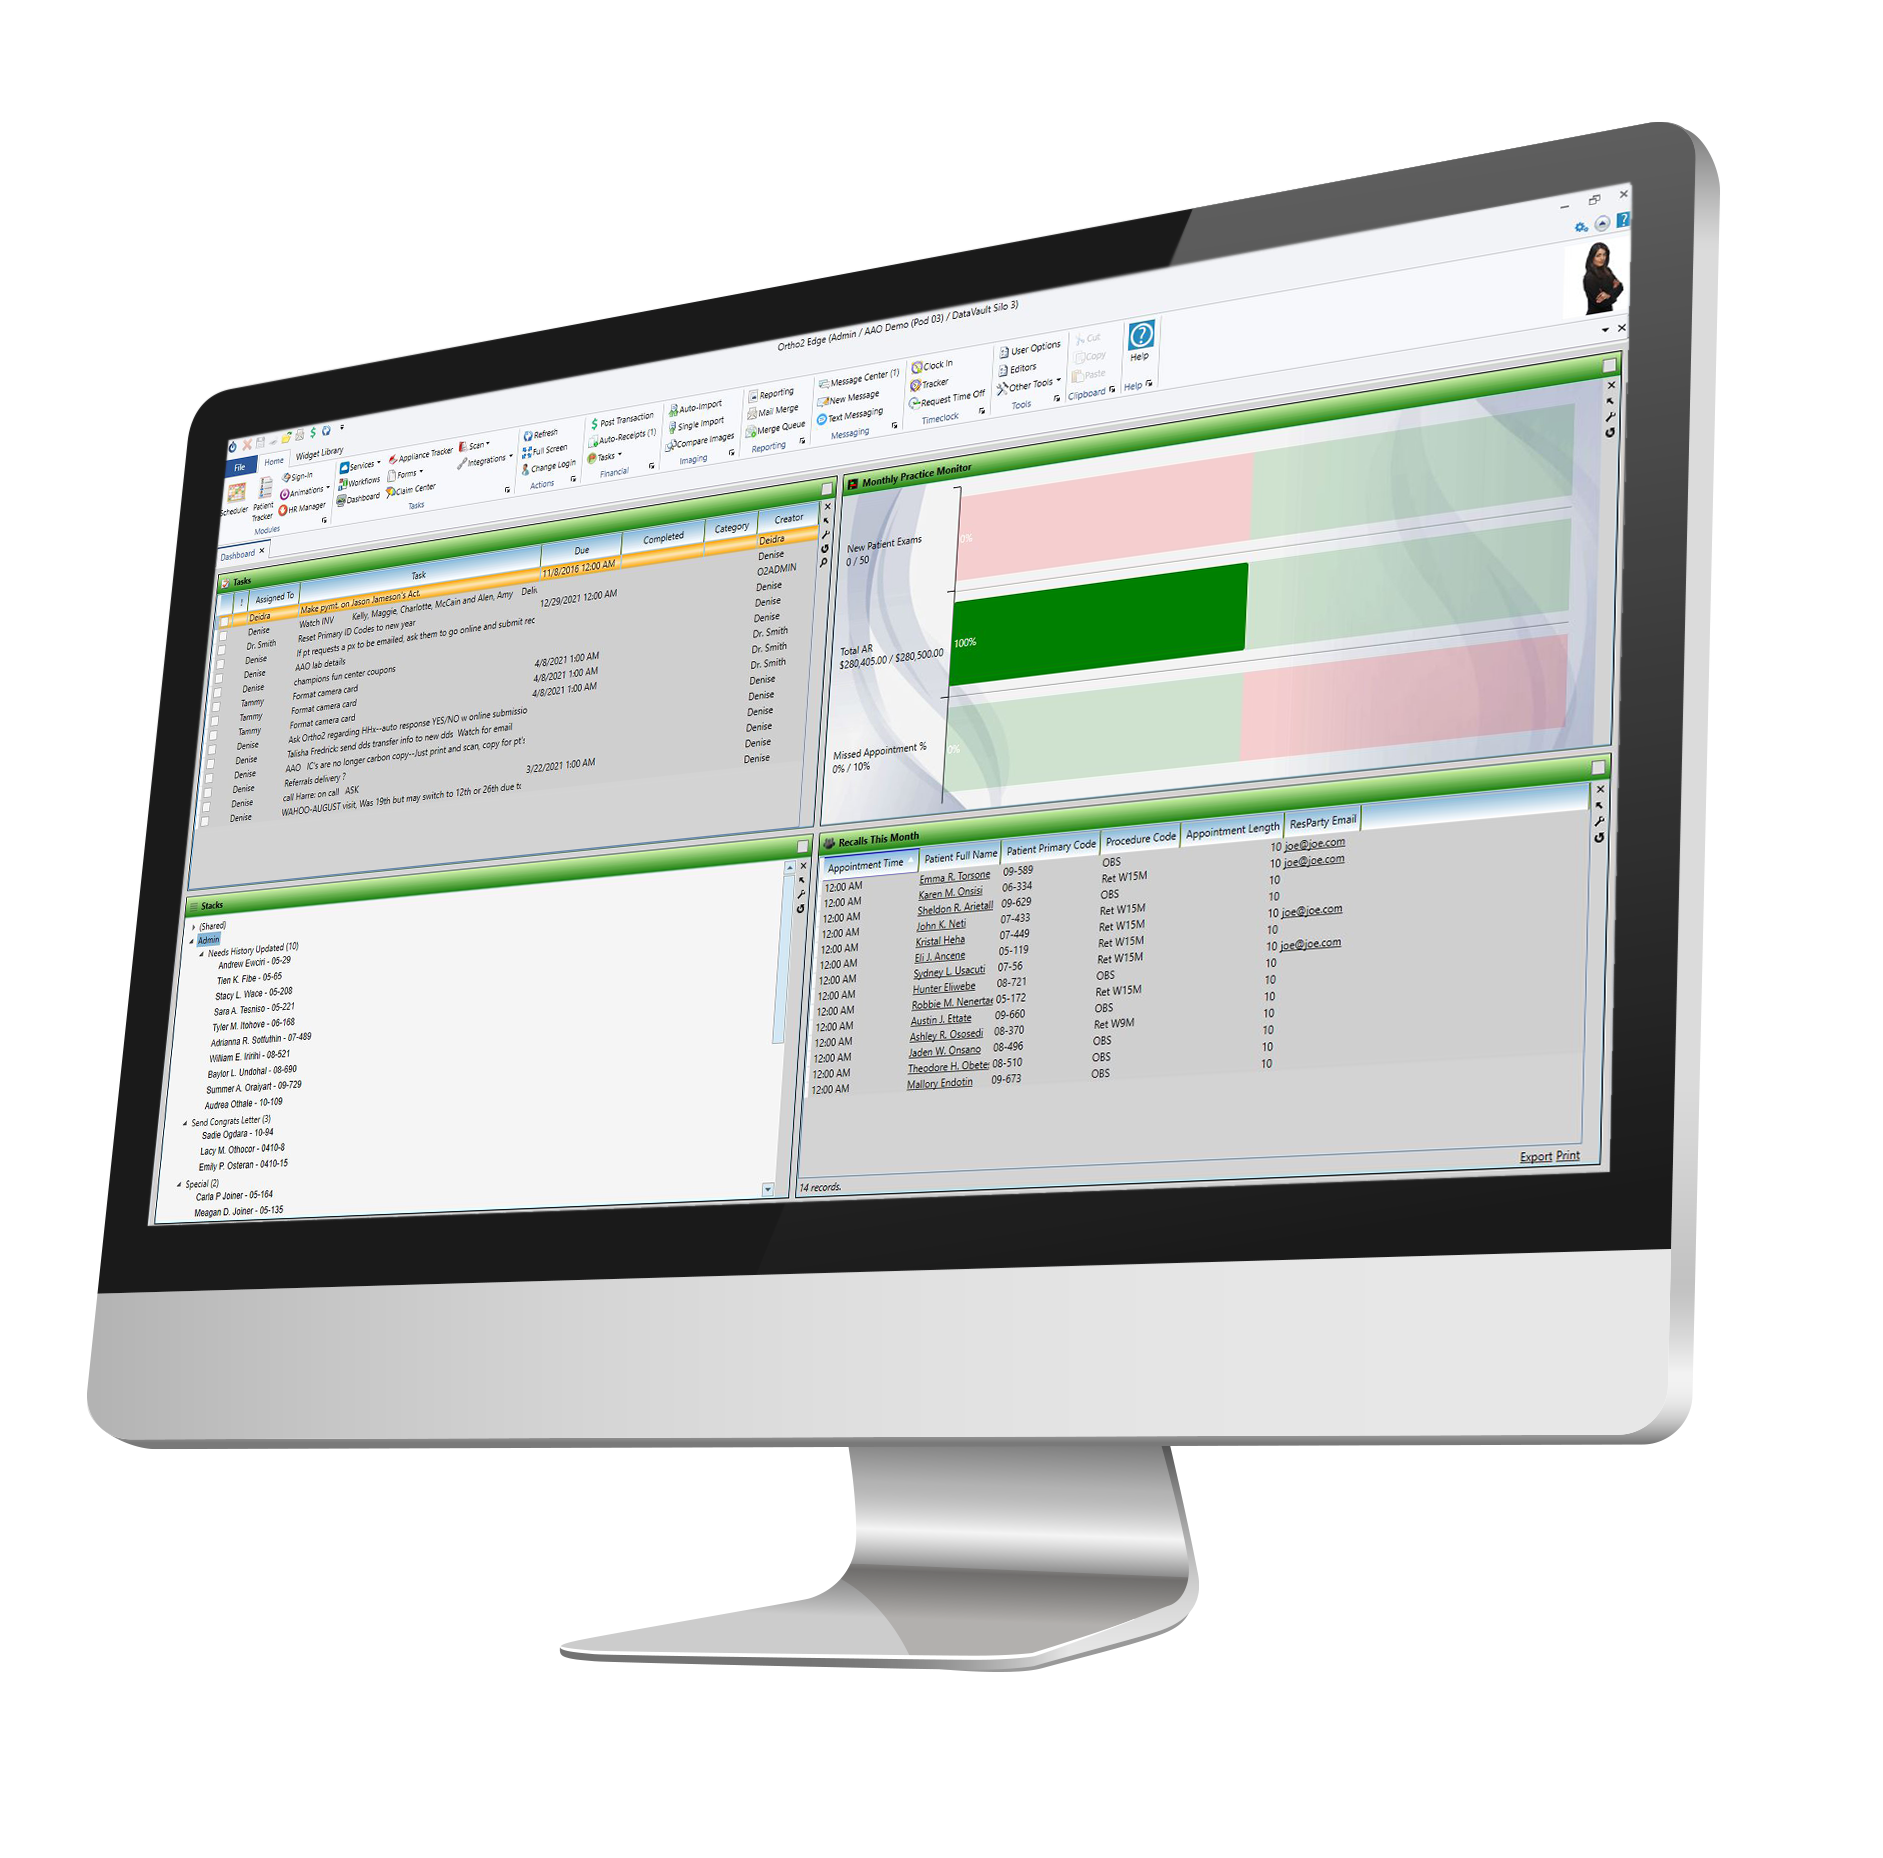
Edge Cloud Dashboard OptionsWhen you log into Edge Cloud, the first thing that appears is the dashboard.
This feature is one of the more underutilized tools we find our customers using. It makes sense because it takes some time to understand the power the dashboard can deliver, and the information you want to see. Use the dashboard widgets to display the productivity issues and applications most relevant to your tasks and professional goals.
Use the widgets that make the most sense to you – whether it’s following a chart to stay up-to-date on goals in a glance, reviewing your task list, or staying on top of your patients coming in and out of your office. To get you thinking about what you might like to see on your dashboard, review some of the most commonly used widgets that our trainers see.
Dashboard Widget Options
Browser. Use the browser widget to view various websites. The marketing coordinator might have social media sites pulled up, or the insurance coordinator could have insurance websites pulled up to verify benefits. Click the wrench icon in the widget to type in the web page you want to see when you open Edge Cloud.
Chart. The chart widget can show you a variety of practice statistics that are customizable. These charts show patient information including charges vs. receipts, new patient exams made, referrals, total AR vs. past due 30, and more. Simply choose what you are interested in seeing, how you want to see it, and let Edge Cloud update you each time you log in. You can have more than one chart widget docked on your dashboard with different statistics showing on each.
Office Contacts. Use the office contacts widget to have immediate access to the contact details of the businesses and suppliers you work with on a regular basis. This widget lists the company name, contact name, and contact information for each active record in your Office Contacts editor. You can click the Edit icon to open the Office Contacts editor to view additional details, make changes, and even add new contacts to your list.
Practice Monitor. View the practice monitor widget to see real-time statistics and progress toward your practice goals. Choose from a list of data, set your goals, define parameters such as time frame (weekly, monthly, annual), orthodontist, and office, and you are set! We have seen offices use this widget to monitor new patient exams or new patient starts. Just as in the chart widget, you can have multiple practice monitor widgets showing at the same time.
Quick Reports. You can use the quick reports widget to organize and run your most frequently-used reports and patient forms without opening the Reporting window. From the dashboard, simply click the report you want, then click Run.
Stacks. Use your stacks widget to flag patients for further action. When you find yourself needing to complete additional work for a patient at a later time, simply add the patient to an appropriate stack folder, or add the patient to someone else’s stack. When you have finished the activity, you can remove the patient from the stack. Insurance coordinators might use stacks to track which patients they need to submit a claim for. You can also use stacks to show your orthodontists a list patients who need a treatment plan created.
Subgroup. As many Edge Cloud users know, subgroups are the best way to get a subset of patients that meet a defined criteria. Set up any subgroup, and use the widget on the dashboard to see that specific list of patients. Ideas include:
- Create a subgroup to look for specific upcoming appointments, should anything need done prior to the appointment.
- If paperwork needs printed before start appointments, you might use a subgroup set up to display any patients coming in (tomorrow, next week) for a start appointment.
- If you personally call new patients to remind them of their new patient exam (as opposed to using an automated reminder), set up a subgroup to display new patients coming in ‘x’ number of days to know who to call.
- If you verify that appliances are in office prior to a delivery appointment, set up a subgroup to display upcoming delivery appointments. Tasks. In the tasks widget, you can assign, prioritize, and track essential office activities. Use this widget for helpful reminders of items you need to complete.
Setting Up Your Dashboard
Now that you have an idea of what some of the widgets are, to use them, simply open the Widget Library ribbon bar. Then, from the Application section, choose the widget you want to work with, and select to open it as a Dashboard widget type. The widget appears in its own window on your screen.
The other option is to use a widget as an application. Selecting Application opens the widget in a new window, making it movable across multiple monitors. Many users have the Patient Tracker and Light Bar widgets on a second monitor or docked within their Edge Cloud software.
You can display the active panels in either normal or expanded view. When in normal view, all panels are given the same amount of screen space. When in expanded view, a single panel is given the maximum amount of space, and all other panels are collapsed. To work in expanded view, click the box at the upper-right corner of the panel you want to work with, or double-click the panel header. To return to normal view, click the box, or double-click the panel header again. Certain information and features are available in expanded view only.
We strongly recommend taking some time to think about the information you want to see at a moment’s notice and then open the appropriate widget on your dashboard. To learn about all of the available dashboard widgets, search for Dashboard Widgets in your Edge Cloud help menu.
Questions, comments, or a great blog idea brewing? Email us — we're all ears.