Using the Light Bar to Track Patients in Your Office
Published by Michelle Haupt on
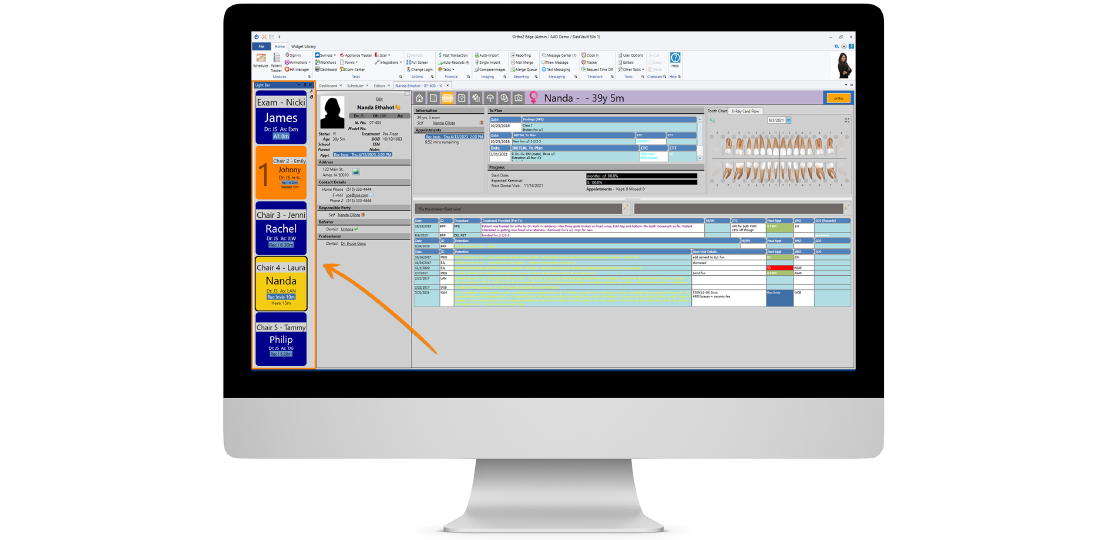
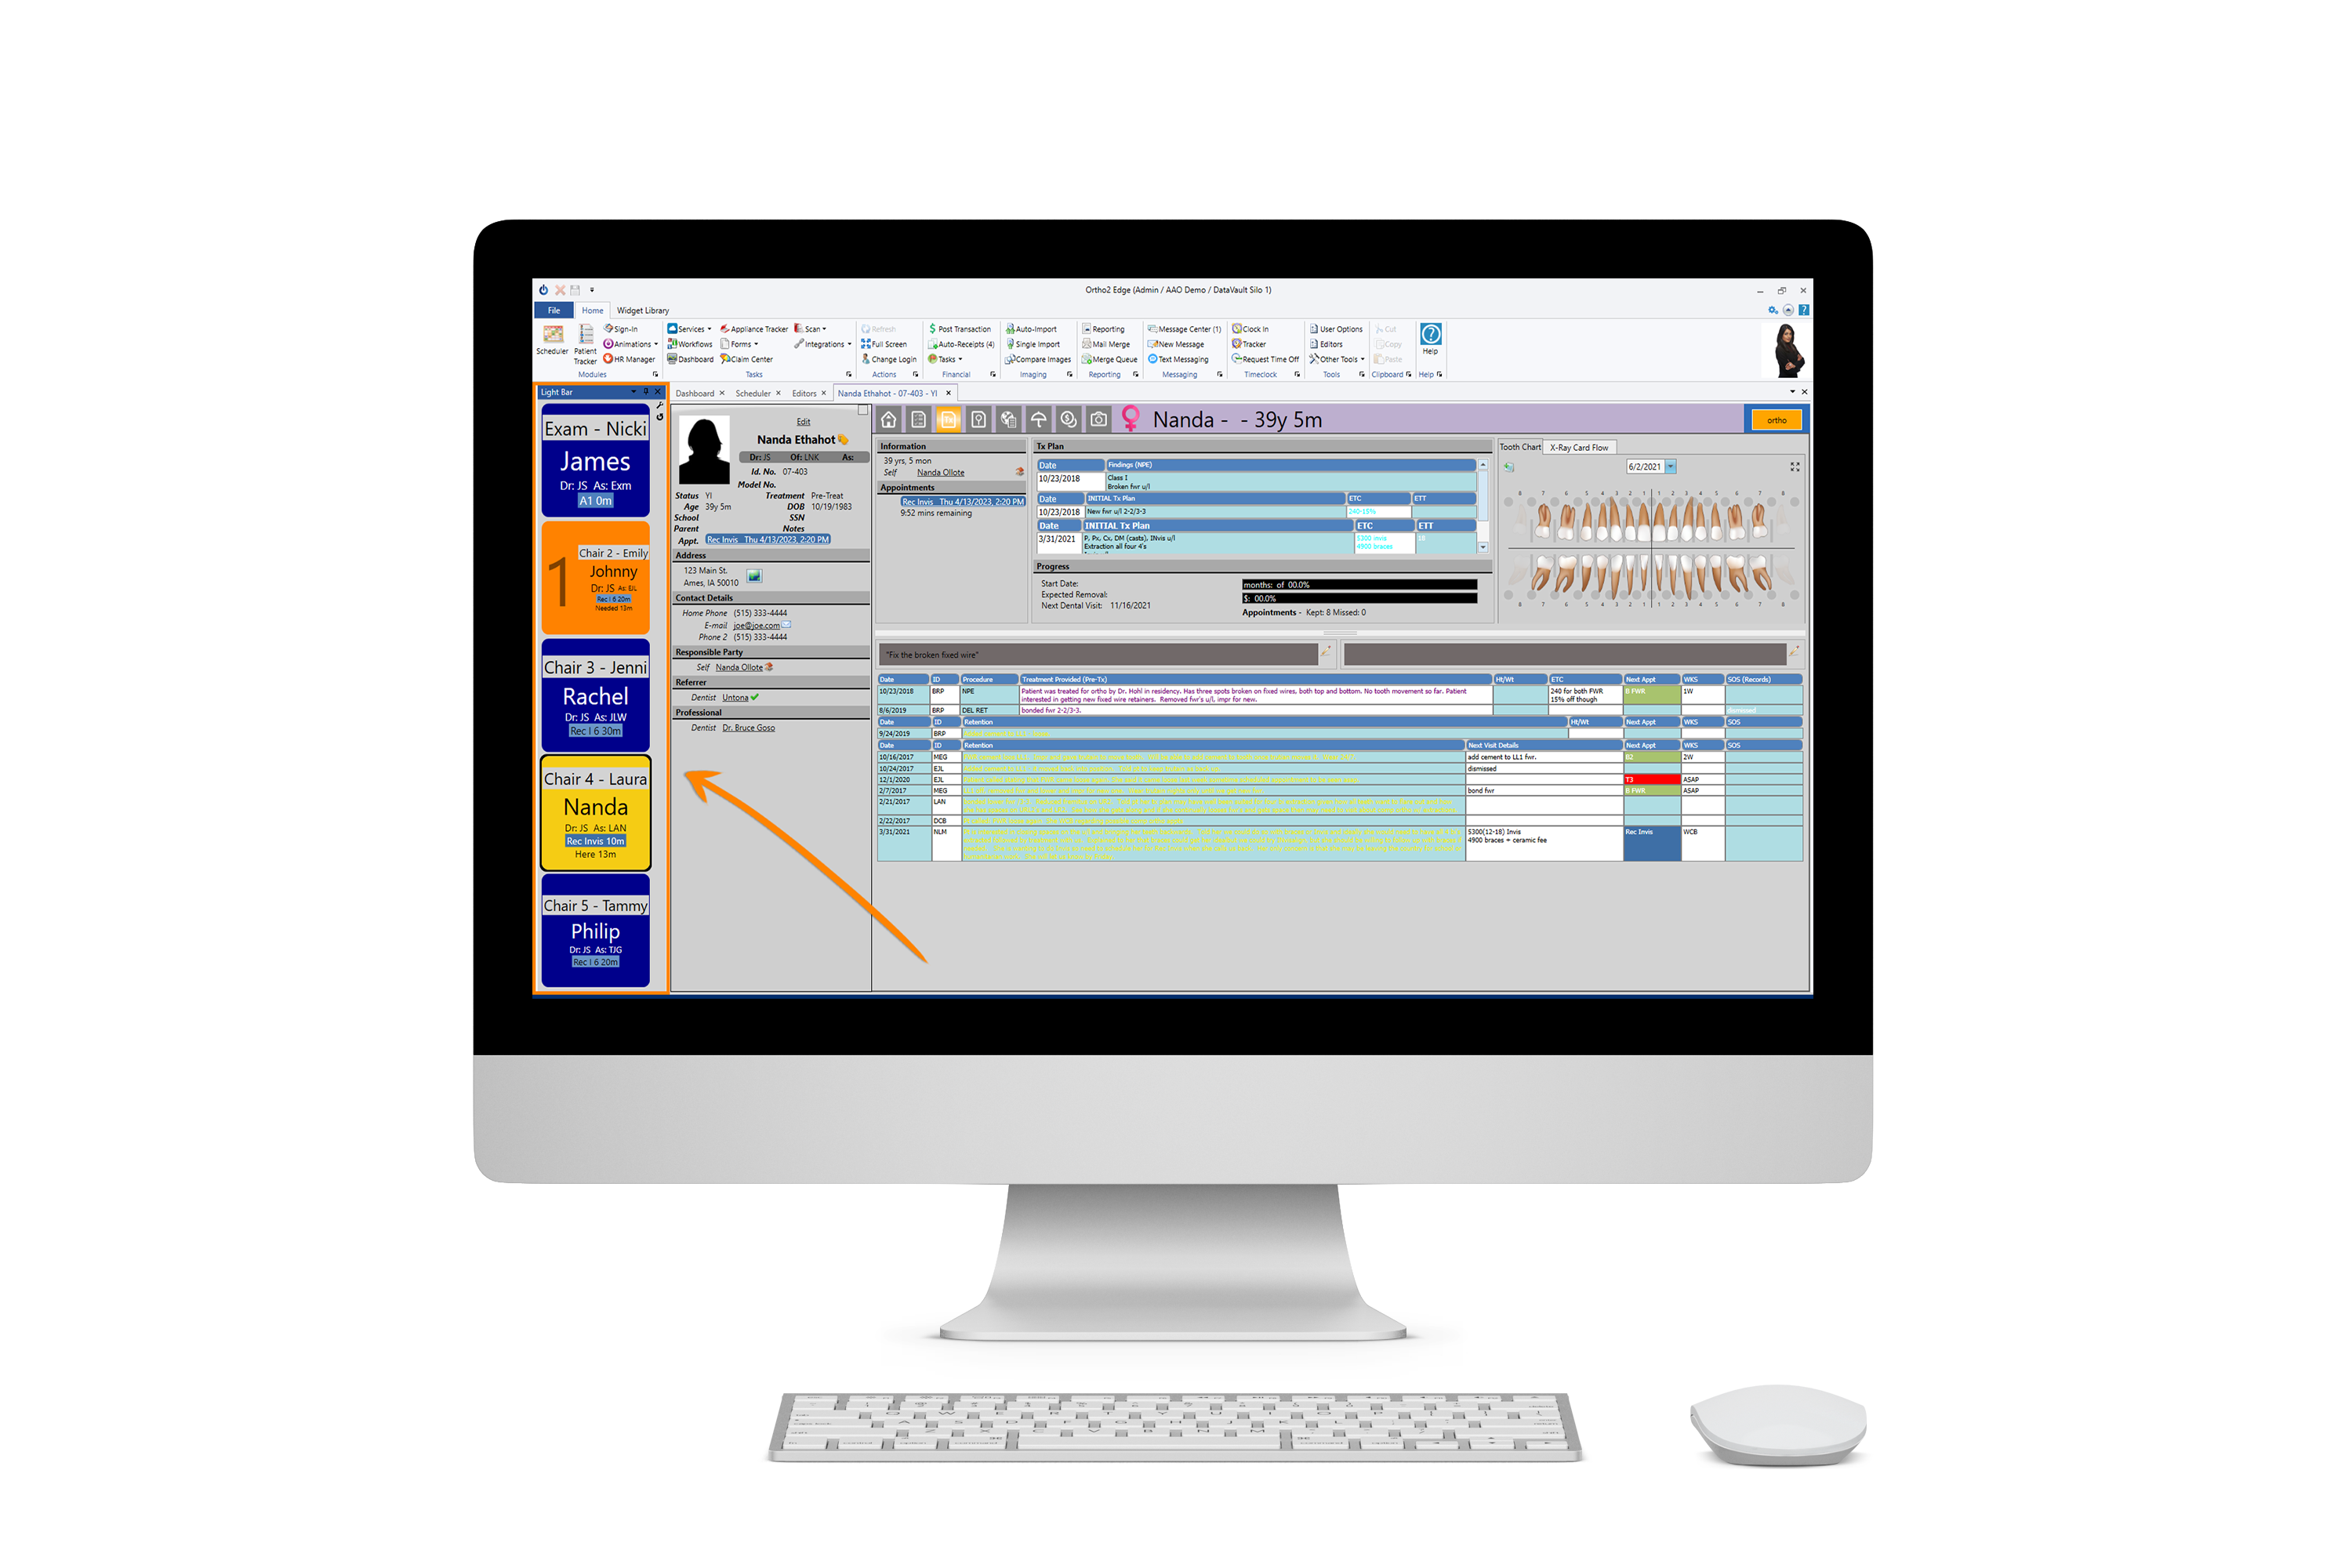
Edge Cloud’s Light Bar widget is an easy way to see who the doctor is currently attending, directs the doctor to the next patient that should be seen, and alerts you to patients that have been waiting an extended period of time.
Setting Up the Light Bar
Open the Light Bar widget from the Widget library and select Application. The Light Bar will open in a new window. Click and hold the top of the window and drag the window until it turns purple. Once it does, you can dock this window in Edge Cloud along any of the four sides.
Because the Light Bar widget is designed to be used chair-side, most settings are computer-specific. Use the Settings wrench icon to adjust the settings for a specific machine. You can adjust settings such as the orientation of the Light Bar, which doctors and offices show, how the patients are shown in the widget, and a variety of patient information such as patient last name, procedure, and assistant.
Use the Patient Tracker editor for system-wide settings. In the Tools tab of the Home Ribbon bar, click Editors, and search for the Patient Tracker editor under Scheduling. Here, you can edit the colors you see in your Light Bar for when the doctor is needed or here and how long the patient has been waiting.
Using the Light Bar
Your light bar widget uses colors, numbers, labels, and flashing to indicate the current status of a patient’s appointment activity, and to direct the doctor to the next patient. When viewing the light bar in queue format, the priority of the appointment determines its place in the list. Each box includes the chair the patient is assigned to, and the number of scheduled minutes remaining for the appointment.
Patients must be signed into your office and flagged as seated in your Patient Tracker before they show in the Light Bar. You can right-click to seat patients from your Scheduler, or drag signed-in patients from the Scheduler. If the workflow is enabled, when a patient is seated, their chart will open automatically.
When you are ready for the doctor to see the patient, right-click on the appointment and choose Doctor Needed. This will update the color of the appointment and will start a new timer for how long the patient has been in this status. In addition, a number appears to indicate that patient’s place in the queue.
Appointments are removed from the light bar when they are placed in checkout, or updated as exited.
You can learn more about the Light Bar by watching our Visual Help video here
Questions, comments, or a great blog idea brewing? Email us — we're all ears.