Work Smarter With Edge Cloud
Published by Michelle Haupt on
Edge Cloud is your one-stop shop for all of your practice management needs. In fact, there are so many components to Edge Cloud that a lot of times we hear that customers feel like they aren’t taking full advantage of the whole program. Read on for a few ways Edge Cloud is used in a variety of offices that make everyone’s jobs easier.
Customizing the Ribbon Bar The ribbon bar in Edge Cloud can be customized to fit your exact needs. You can hide sections or buttons, or make buttons larger or smaller depending on what you use the most.
Click any corner icon of an Edge Cloud ribbon bar, and select Customize the Ribbon. The Customize Ribbon window opens with that section selected.
Use the right side of the Customize Ribbon window to define how the selected icon should appear in your ribbon bar.
- Show or hide the icon in the ribbon bar using the Is Visible checkbox. Hidden icons will still be accessible from the corner icon of the ribbon bar.
- Select the icon size for your ribbon bar with the Image Size option. The image size changes automatically when you apply a ribbon bar template.
- Select to position the icon to the left, right, above, or below the caption in the ribbon bar.
Application Widgets
You can move and resize the widget window as needed, or you can pin it to a location within Edge Cloud. To pin a widget to your screen, drag it until your screen shows you the purple highlighted area where you want to place the widget. Once in location, click the pin icon to keep that widget in place. To see the widget again, simply hover over the tab with the widget name, or click on it.
If you decide to move the widget again, first unpin it. You can then click the heading and drag it again to where you would like the widget to be.
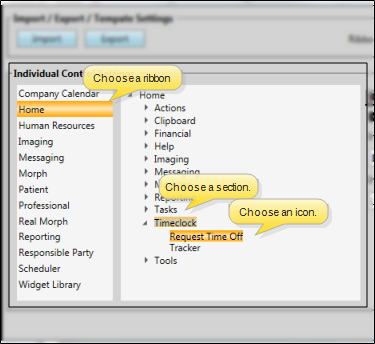
Workflows and Quick Actions You can use workflows to automate Edge Cloud actions whenever something happens in your Edge Cloud system. Workflows can be set up for a variety of actions including creating a treatment chart record when an appointment is processed as kept, merging a letter after a specific appointment is kept, or even adding a patient to a stack. The possibilities are nearly endless.
You can find more information about setting up workflows in the the visual help section of support.ortho2.com.
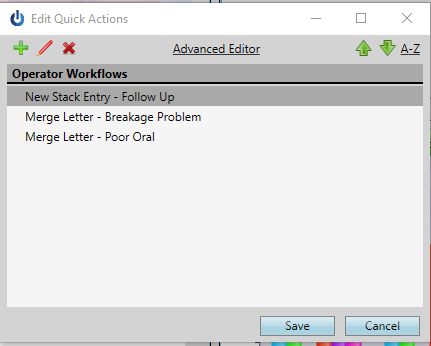
You can create workflows such as merging a letter or posting a charge by clicking the green plus icon. Simply fill out the wizard to add the Workflow to the Quick Actions.
You can create more advanced workflows, such as merging a letter and posting a charge, by clicking on the Advanced Editor option. Once you’ve added the workflows you use the most, click Save.
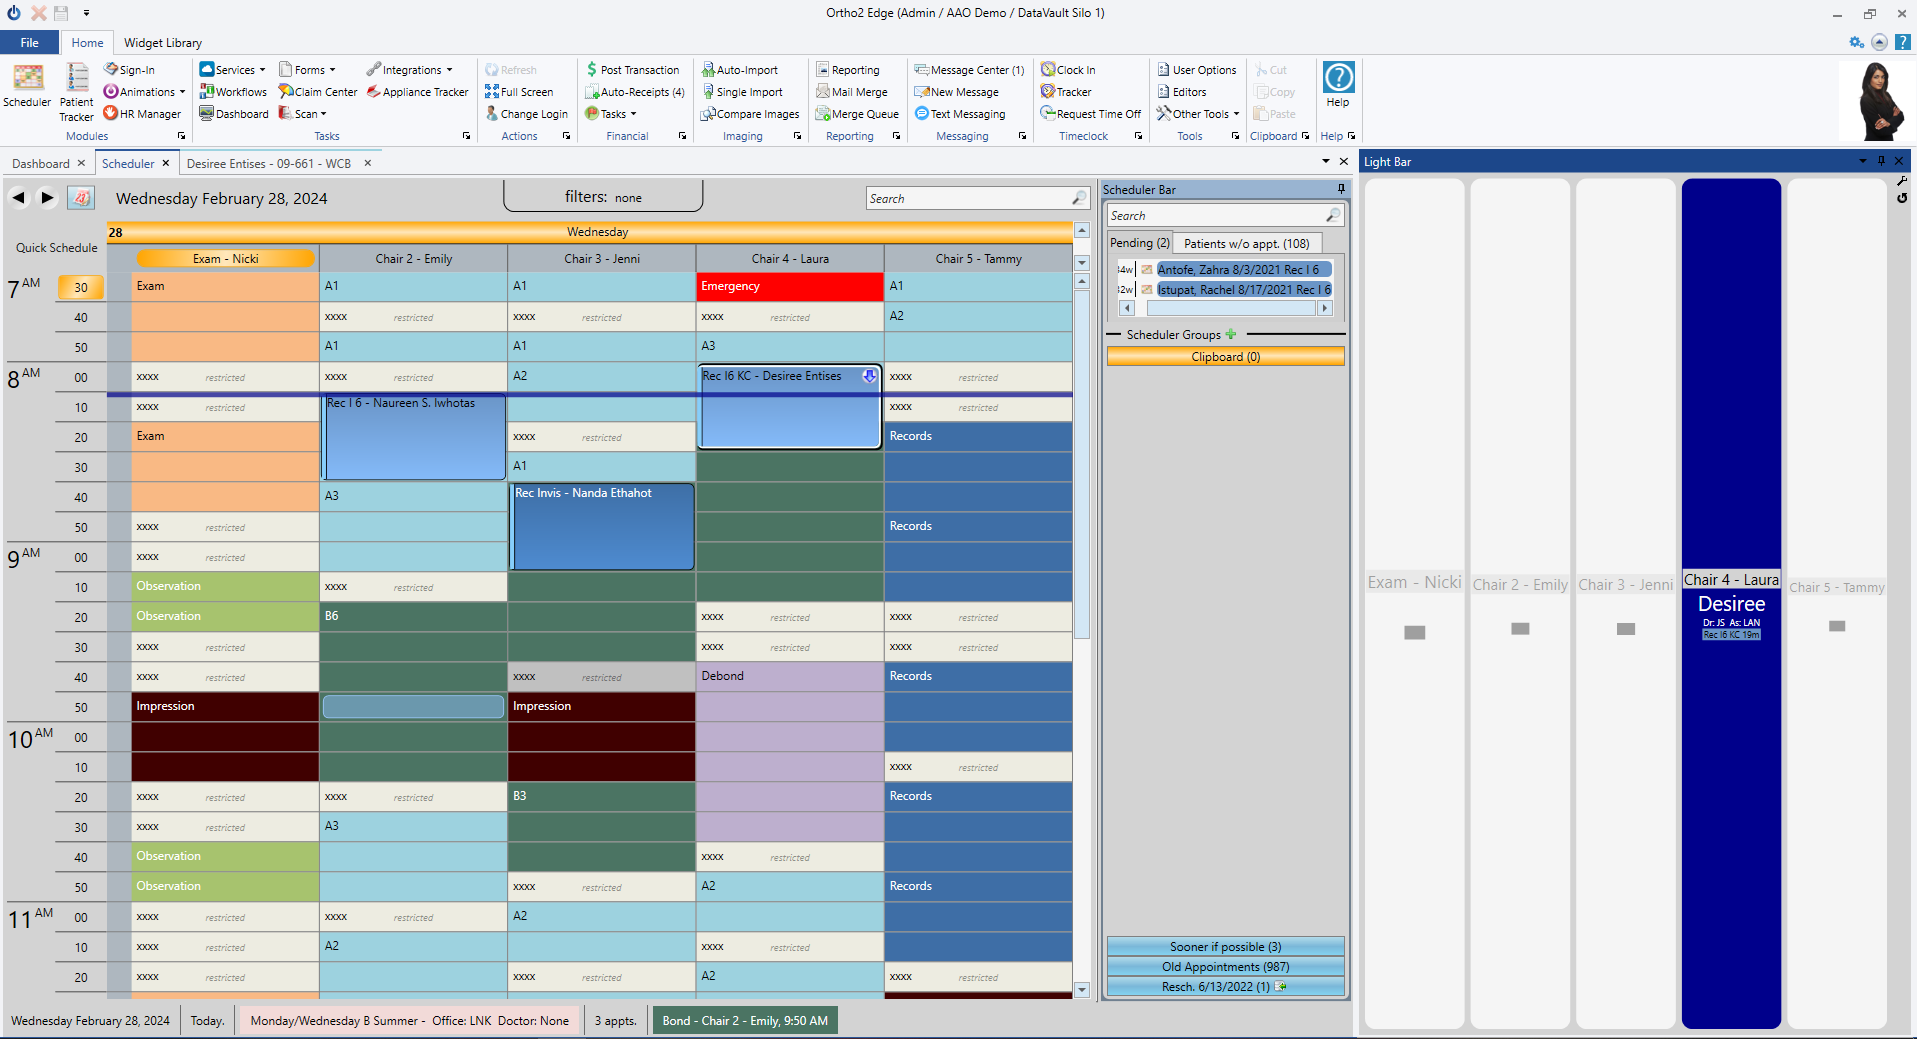
Assigning Options to Other Users When you have Edge Cloud set up to your liking, you can push your settings to other users. This can be helpful so all the settings are the same when the orthodontist is moving from chair to chair during the day. Click Other Tools in the Tools tab of the Home ribbon bar. Then click Assign User Options. You can assign a variety of options, including the items already mentioned in this article.
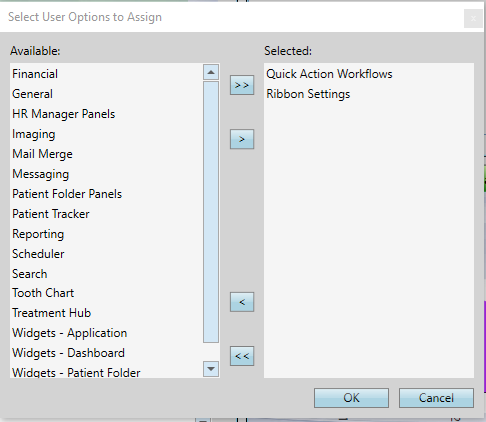
To assign options to another user, simply select the user option you want to assign and click the right arrow in the middle column. Then click OK. Now select one or more users to assign these options to, and again click the right arrow in the middle column. Click OK. A new window will appear letting you know the options have been assigned successfully.
Quick Access Toolbar Do you frequently do a specific task in Edge Cloud that takes a few clicks to get to? Perhaps it’s opening a patient folder, opening the mail merge, or importing images. You can add icons to your Quick Access toolbar to open these actions with just one click.
You can see your Quick Access toolbar above your Home ribbon bar. Simply click the drop down arrow in the Quick Access toolbar to see the options you can add or remove.
Optionally, you can move the Quick Access toolbar below your Home ribbon bar. Right click anywhere in the Quick Access toolbar and click Show Quick Access Toolbar Below the Ribbon.
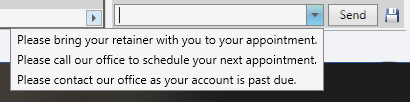
Quick Text Messages If you find yourself sending the same text message again and again, save some time by saving text messages as quick messages.
To learn more about any of these topics, watch the recorded Edge Cloud Work Smarter session from the virtual Users Group Meeting.
Questions, comments, or a great blog idea brewing? Email us — we're all ears.